Spider mites are one of the most invasive pests in my Zone 10a garden, and every year I’ve had these microscopic arachnids take over entire plants – sometimes an entire raised bed! In fact, some of the infestations have gotten so out of control that forfeiting the plant was the only option I had to get rid of them – they are THAT prolific.
Since the life cycle of a spider mite is a mere seven days, it only takes a few weeks for their population to explode into epic proportions. And, they can be easy to miss early on.
I’ve lost some really great eggplant varieties and tomatoes due to these guys, so I’m happy to report that I have a tried-and-true homemade spider mite killer that actually WORKS!
A friend of mine gave me this formula, and it's fantastic. This recipe kills them—the entire life cycle from egg, larvae, nymph, to adult - all in ONE recipe you can make at home.
So, let’s get into it!
Homemade Spider Mite Killer that Actually WORKS!
The ingredients below are considered must-haves, so please try not to make any substitutions or leave any one ingredient out. Be sure to scroll down to read about each ingredient and why it is being used.
Each is essential in its own way for killing spider mites, their eggs, larvae, and nymphs.
Here’s what you will need for this recipe:
- A 2-liter pump sprayer (these have a finer mist than just a spray bottle)
- 2 liters (8 cups) of distilled water (it MUST be distilled or reverse osmosis water)
- ½ cup of Dr. Woods Castile Soap (this brand produces a nice thick castile soap that I prefer over Dr. Bronner’s, but Bronner’s will work)
- 20 drops of tea tree essential oil
- 20 drops of peppermint essential oil
- 1 cup of 70% isopropyl alcohol (rubbing alcohol) – if you have a higher percentage, use ½ a cup
- 1 teaspoon of 3% hydrogen peroxide
Alternatively, you can also use the Dr. Woods tea tree and peppermint Castile soaps in this recipe. Just omit the essential oils and add ¼ cup of each scented castile soap.
Preparation – Spider Mite Killer Spray Recipe
- If you’re using essential oils, add the tea tree and peppermint to the castile soap and mix thoroughly.
- Next, add 2 liters of distilled water to your spray mister.
- Add the castile soap and remaining ingredients.
- Mix thoroughly to ensure even application.

How to Use Your Homemade Spider Mite Killer Spray
It’s important to only spray in the late afternoon when the sun has gone down to prevent it from burning the fresh solution into the leaves of your plants. We don’t want to add extra stress during this process.
We also don’t want to deter bees from visiting the flowers on your plants, so late afternoon spraying is recommended.
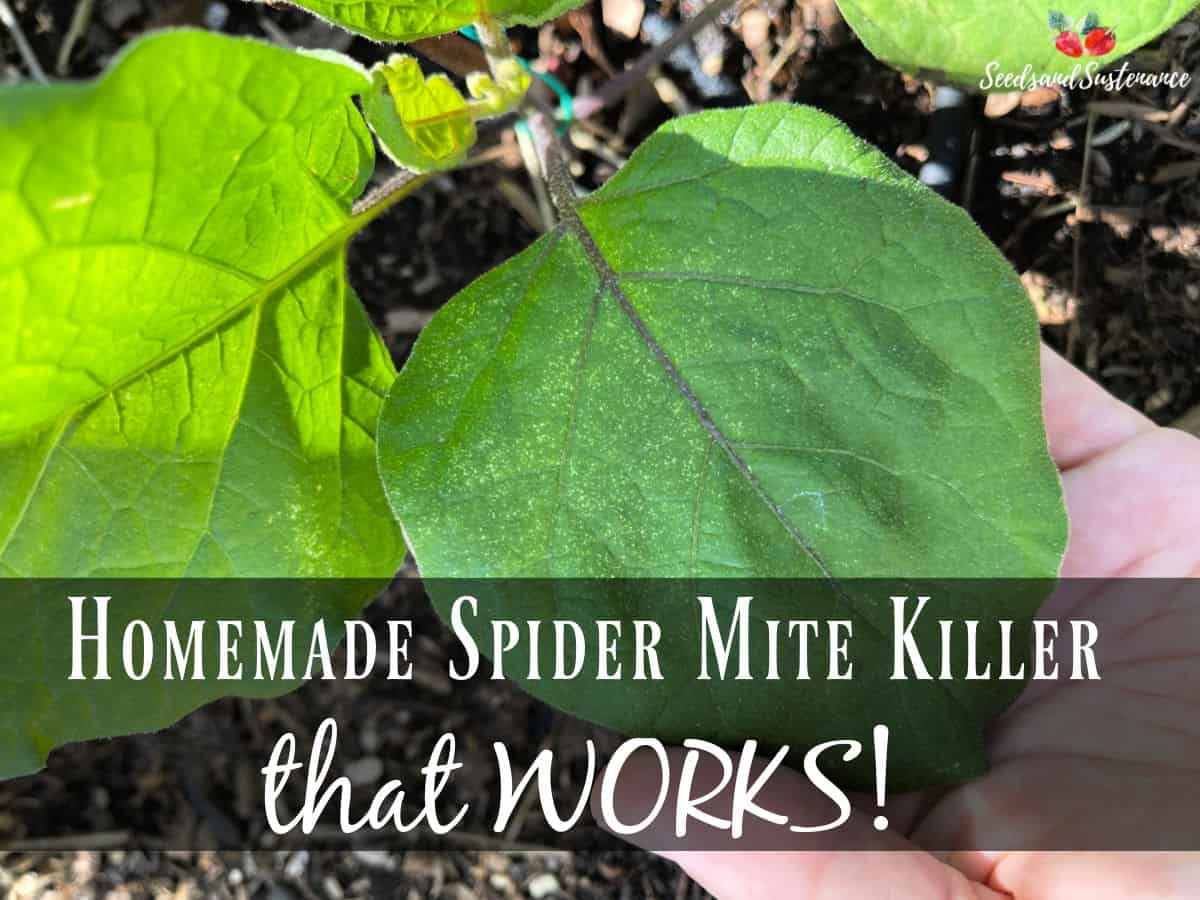
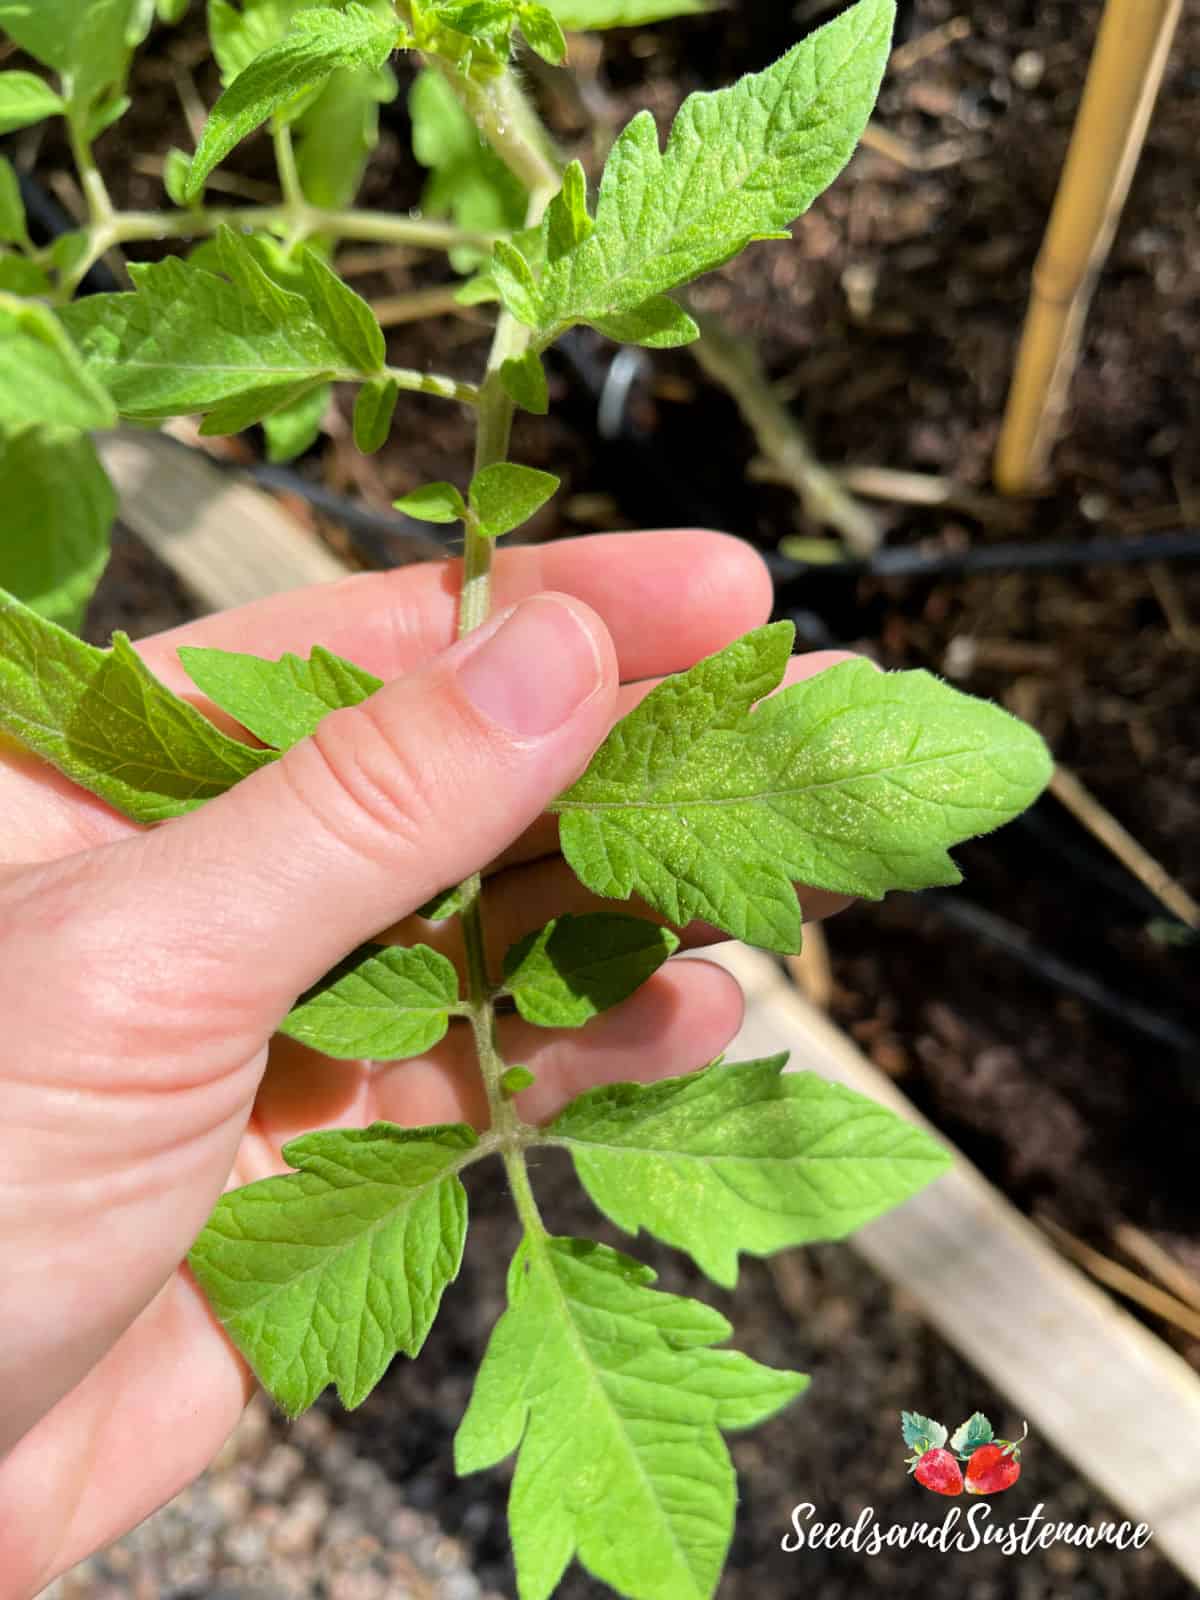
Once you have identified which plants have been infested with spider mites (they will have discolored stippling of the leaves and fine webbing and, if you can see them, teeny tiny red or brownish spiders), begin by pumping up the pressure on your spray mister.
Use your other hand to either turn over the leaves one by one or brush the leaves upward as you spray their undersides.
Spider mites thrive almost exclusively on the underside of the leaves, so really focus your efforts there. They also LOVE new growth, so be sure to hit those areas as well.
I tend to spray the undersides of the leaves, all new growth, stems, and the soil around the plant.
You will notice that the spider mite solution coats everything evenly– which is good because spider mites can jump in their attempt to escape!
All you need is a light yet even application. You do not need to drench your plants in order for this spray to work.
However, make sure you get every leaf possible. Take a photo to keep track of how things look. If you notice more stippling on the leaves, you still have some spider mites.
Repeat on day three to make sure you didn’t miss anything. Check again on day six. Keep taking those photos!
Your infestation should be gone. I had nothing left but tiny dried-up spider mites (and a few aphids) on my plants.
If it isn’t, spray one more time and check again in a couple of days.
No other spray recipe has worked this well aside from homemade Jadam Wetting Agent mixed with Jadam Sulfur (which are far more involved and not always on hand).
And there you have it! An eradicated spider mite population.
You’re welcome.
Why These Ingredients Work
It might be tempting to leave out an ingredient if you don’t have it, but don’t! Just pick up what you’re missing and go from there. It will save you time and energy.
Here’s why:
Distilled Water
The reason you must use distilled, soft, rain, or reverse osmosis water for this recipe is because these are the only types of water that will fully coat the leaves of your plants without leaving a residue.
If you use plain tap water, hard water, or even filtered or bottled water, the solution will bead on the leaves rather than coat them evenly. This leaves a lot of room to miss some spider mites and their other life stages. Not only that, you will also get mineral deposits on your plants that can look rather unsightly.
The key takeaway here is that you want to kill every single spider mite, including their eggs, larvae, and nymphs. To do that, you must cover every single bit of surface area on your plants.
Distilled water accomplishes this perfectly. I know it can seem like an expense, but believe me, it is totally worth it to be able to kill spider mites 100% in just a matter of days.
Castile Soap
Castile soap is a healthy and all-natural low-sudsing soap. The low suds factor helps ensure that when used with distilled water, it will thoroughly coat plants, spider mites, and their life stages.
The soap works through suffocation by covering the areas of their body where they breathe and kills them off. But don’t worry! Castile soap will not harm nor suffocate your plants.
What WILL harm your plants is if you use dish soap.
Dish soap, like Dawn, is often comprised of potent degreasers and other surfactants/chemicals that will absolutely harm the leaves of your plants, making them burn and fall off. So please don’t even use dish soap on your plants.
Tea Tree Essential Oil
Tea tree essential oil is a natural cleansing agent that will disinfect your plants from spores, molds, mildew, and other plant diseases while also killing spider mite eggs, larvae, nymphs, and adults. The tea tree fully penetrates the egg sacs (with the help of rubbing alcohol) and kills every egg.
It will even enter the bodies of adult spider mites and kill any unlaid or developing eggs within them.
Tea tree is an essential ingredient that will get rid of your spider mite infestation 100%!
Peppermint Essential Oil
Peppermint essential oil acts as a powerful repellant to both spider mites and other insects. This will ensure that new spider mites will not want to make your garden or household plants their new home.
This is important because it only takes a few days for new spider mite eggs to hatch. The key is to eliminate the ones already infesting your plants while also preventing more from moving in.
Isopropyl Alcohol
The primary purpose of rubbing alcohol is to dissolve and break down all of the webs that spider mites produce on your plants. These webs protect the spider mites and all of their eggs, larvae, and nymphs from predators. They don’t use these webs for trapping food like traditional spiders do; they are solely for protective purposes – almost like nurseries for their young.
Rubbing alcohol essentially disintegrates the webs on contact. This allows the other ingredients to coat the leaves thoroughly along with every life stage of the spider mites to kill them, so you must include it in this recipe even if you can’t see any webbing.
Remember, these guys are microscopic! The webs will be very fine at the beginning and hard to see.
Additionally, rubbing alcohol helps kill mold, mildew, and other parasites that may be living on your plants.
Hydrogen Peroxide
Hydrogen peroxide will help disinfect your plants and soil (it kills mold, mildew, and parasites) while also penetrating adult spider mites, their larvae, and nymphs, causing them to dissolve from the inside out.
Please note that hydrogen peroxide will not kill spider mite eggs which is why you need the other ingredients in this solution to fully eliminate them.
You may also enjoy reading:


Leave a Reply